Disable Game DVR and Game Bar in Windows 10
The Game DVR feature in Windows 10 is modelled along a similar feature found in Xbox. Game DVR along with its interface “Game Bar” allows you to record PC Game Play, take Screen shots while playing games and share them on Social Media or store them locally on the PC. As mentioned above, Game DVR is known to consume a lot of system resources and this can lead to performance issues on slower computers and slow down of Game Play, even on faster computers. Hence, it does makes sense to disable Game DVR on low end PC’s and also on Mid-Range Gaming PC’s, in case this feature is slowing down Game Play or leading to other performance issues. Once you disable Game DVR it also disables the “Game Bar” and you won’t be able to take Screen shots or record Videos of your Game Play using Game DVR.
Disable Game DVR in Windows 10
While Microsoft enables Game DVR by default on your computer, it does not provide any options in the Windows 10 Settings Menu to Disable or Configure Game DVR in any way. In order to Disable Game DVR on your Computer, you will need to login to your Microsoft Account and follow the steps below.
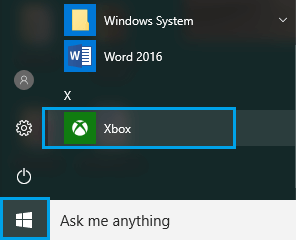
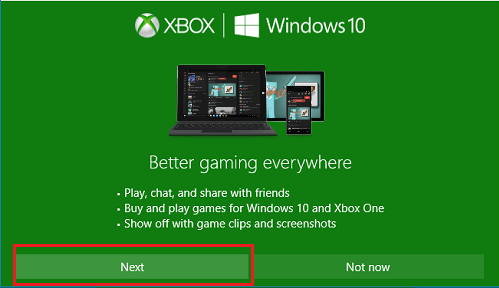
Click on Windows 10 Start button and then click on the Xbox App, located at the bottom of the side-bar menu. 2. On the next screen, click on Next and sign-in to your Microsoft Account.
You will be prompted to Sign-in to your Microsoft Account, in case you are not already signed-in.
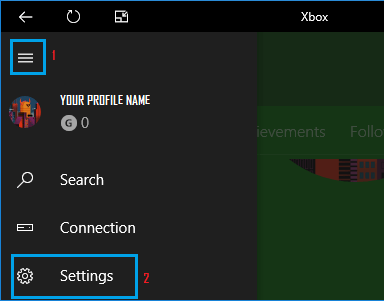
Once you are signed-in to Xbox App, click on the 3-line icon to launch a side-bar menu and then click on the Settings option located at the very bottom of the side-bar menu (See image below).
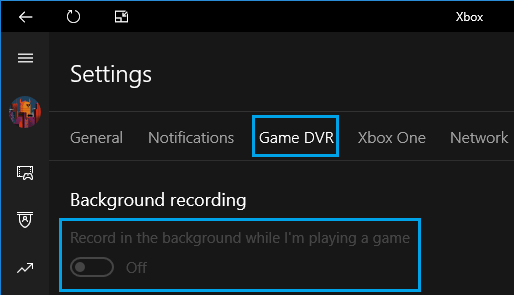
On the Xbox Settings screen, click on Game DVR. Next, scroll down and turn OFF the Background Recording option (See image below)
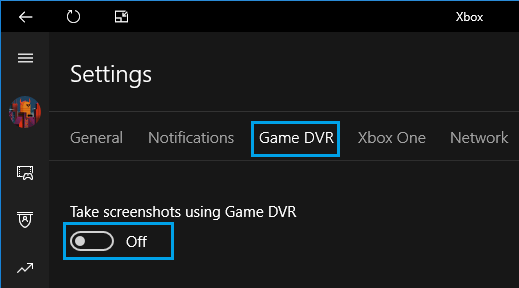
While you are still on Game DVR Screen, Turn OFF the option for Take Screenshots Using Game DVR Option (See image below).
This will prevent the Game DVR feature in Windows 10 from using up system resources on your computer for recording Videos of your Game Play.
